Appearance
Step 3: Create Website
Fresh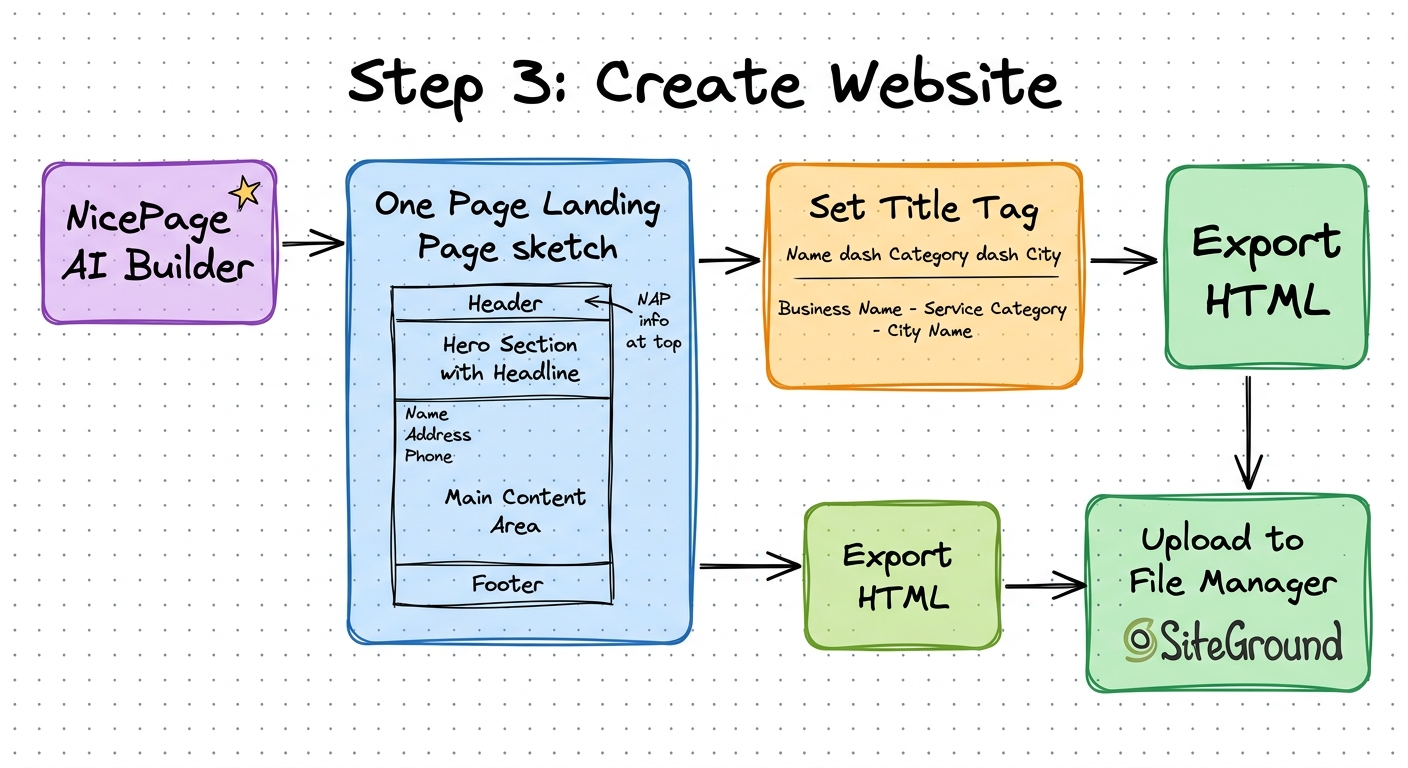
Overview
Build a simple one-page landing page that is relevant to your business category. This site supports the GBP listing — aesthetics do not matter.
Procedure
1. Create the Page in NicePage
- Open the NicePage desktop app
- Click New Site
- Click AI Power Builder
- Enter your business type (e.g., "Roofing Company")
- Upload any photos if you have them (optional)
- Click Create and select a template
Do Not Overthink This
This is NOT about website development. The page just needs to exist and be relevant to the category. Use the AI builder and move on.
2. Customize the Page
- Name the page Home
- Hide the header and footer (not needed)
- Add your Name, Address, and Phone Number prominently at the top
- Remove irrelevant elements (company logos, Lorem Ipsum reviews)
- Keep anything relevant to the business category (Q&A sections, service descriptions)
3. Set the Title Tag
Use this format: Name — Category — City
Example: Panara Roofing and Exteriors — Roofing Contractor — San Bernardino
4. Export and Upload
- In NicePage, click the arrow next to the site name and rename it for reference
- Go to Publish then HTML
- Uncheck "Include Blog Posts"
- Set export path to your Desktop NicePage folder
- Click Export HTML
- Go to SiteGround File Manager then Public
- Delete existing default files
- Drag and drop the exported HTML files into File Manager
Tools Used
| Tool | Purpose |
|---|---|
| NicePage | AI-powered website builder (Business Pro plan) |
| SiteGround | File hosting via File Manager |
Output
At the end of this step you should have:
- A one-page landing page with your NAP information
- Relevant content for your business category
- Files uploaded to your hosting
Next Step: Step 4: Push Website Live